
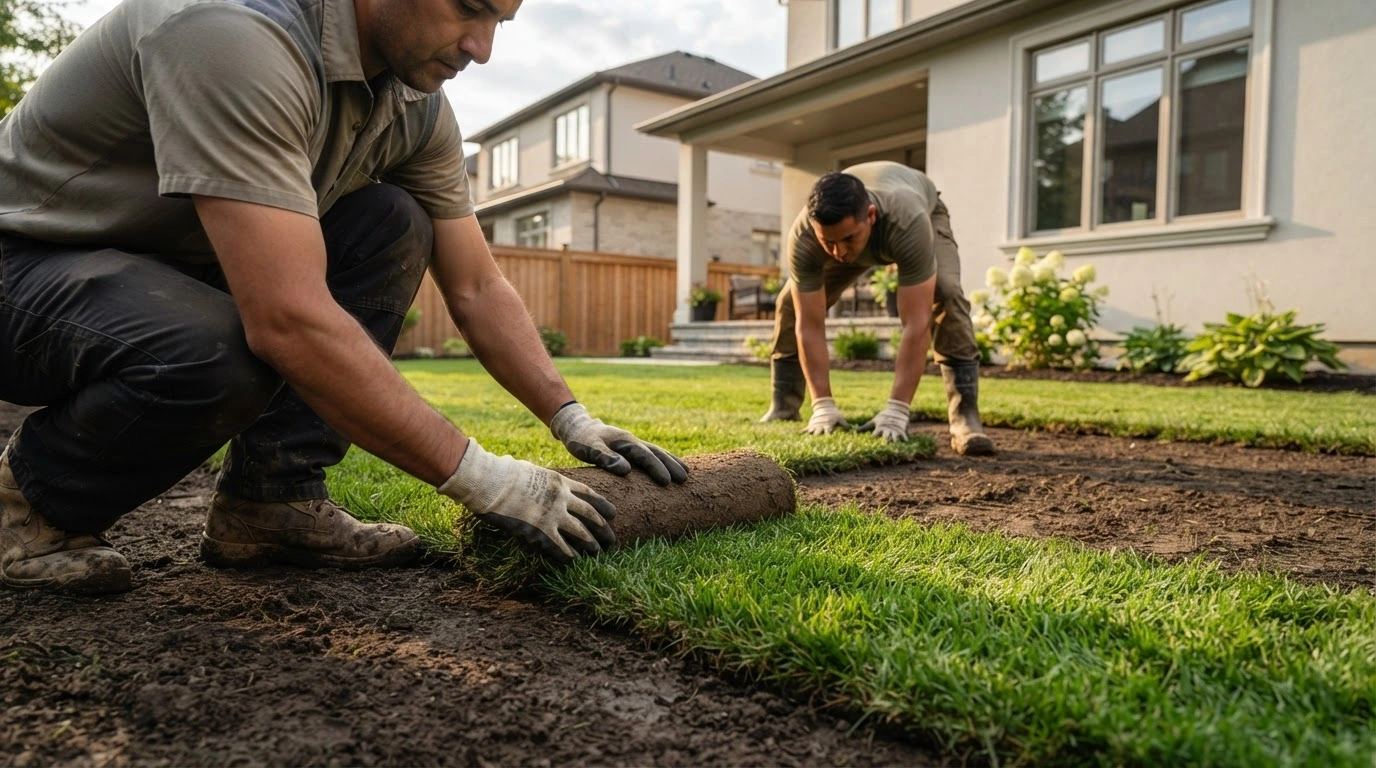
The pallets usually show up on a Saturday morning, stacked in the driveway like rolled-up carpet. By Sunday evening the yard looks finished, and the neighbors stop to say so. Then, around day ten, thin brown lines appear along the seams and the strips start to curl at the corners.
Sod is one of the fastest ways to make a yard look better, but the first few weeks decide whether it becomes a lawn or an expensive layer of dead grass. Most failures trace back to a handful of errors. Each one has a specific fix.
Start with timing and freshness. Homeowners in Concord, for example, can order fresh-cut sod from SodLawn and schedule delivery for the morning the ground is ready. Getting that one date right heads off several of the problems below. According to Purdue University's this article guide, the most common sod mistakes are underwatering (especially at the edges), poorly spaced seams, laying sod more than 24 hours after harvest, and letting people walk on the lawn too soon.
| Planning detail | Recommended figure |
| Sod on one pallet | About 50 square yards (450 square feet) |
| Extra sod to order | About 10 percent more than measured |
| Time limit from harvest to laying | No more than 24 hours |
| Keep foot traffic off | Three to four weeks |
| Follow-up fertilizing | About one month after installing, then again 30 to 60 days later, at roughly 1 lb nitrogen per 1,000 sq ft (less for summer installs) |
Skipping Soil Prep Before the Sod Arrives
Sod won't fix bad ground. Roll it over compacted clay, old grass clumps, or a yard full of rocks, and the roots have nowhere to go. The strips sit on top, dry out fast, and lift right up when you tug a corner a month later.
Do the prep in the days before delivery, not the morning of. Work in this order:
- Remove the old lawn and weeds completely, roots and runners included.
- Loosen the top 4 to 6 inches of soil with a tiller or garden fork.
- Rake out rocks, roots, and debris larger than a golf ball.
- Grade the surface so it slopes gently away from the house foundation.
- Lightly water and roll the area so it is firm but not packed hard.
People often forget the finished height. Set the soil about an inch below sidewalks, patios, and driveways so the sod sits flush once it is down. Otherwise you get a raised lip that dries out and gets scalped by the mower.
Measure while you are at it. A pallet covers roughly 450 square feet, so a 2,000-square-foot backyard needs about 4.5 pallets. Add 10 percent for cutting around beds and curves, and you are at five.
Letting Sod Sit on the Pallet Too Long
Harvested sod is alive, and it starts heating up the moment it is stacked. On a warm afternoon, the center of a pallet can cook the grass from the inside, turning it yellow and slimy within a day or two.
Hence the 24-hour window. If the delivery arrives at 8 a.m., plan to have every roll down before dark. Begin along your straightest edge, such as a driveway or fence line, and work outward.
Can't finish? Move the remaining pallets into shade, unroll a few pieces on the top layer, and mist them lightly. That buys a few hours, not a weekend.
How you lay the strips counts too. Stagger the seams like brickwork so the short ends never line up in a long row, and push each piece snug against its neighbor without stretching it, because stretched sod shrinks as it dries and leaves gaps. On slopes, run the strips across the hill rather than up and down. If the grade is steep, pin them with wooden stakes.
Watering Too Little, Especially Along the Edges
This is what causes the brown lines from day ten. Edges and seams dry out first because air hits them from more sides, and the soil at a seam often has less contact with the roots.
Start watering within 30 minutes of laying the first section, not after the whole yard is done. Soak the sod until the soil beneath it is wet. Then lift a corner: you should see damp soil an inch or more down, not just wet grass blades.
For the first week to ten days, keep the sod and the soil under it consistently moist. In hot weather that often means watering once or twice a day. Give edges along sidewalks and driveways a second pass with a hose, since pavement radiates heat and sprinklers rarely reach those strips evenly.
Around two weeks in, the sod should resist when you tug a corner. That is your signal to stretch out the intervals so the roots grow down to chase moisture.
Walking on and Fertilizing the New Lawn Too Soon
A fresh lawn looks ready, and everyone wants to use it. Kids play catch, the dog takes laps, someone drags the grill across for a cookout. Every footstep presses and shifts the strips before the roots have knitted into the soil.
Keep people and pets off for three to four weeks. A few garden stakes and some string around the area work better than telling people to stay off. If you must cross it to move sprinklers, lay down a plank to spread your weight.
Hold off on the fertilizer bag, too.
Sod is usually well fed at the farm, and extra nitrogen on stressed, unrooted grass can burn it. Schedule the first feeding about a month after installation and a second one 30 to 60 days after that, at roughly 1 pound of nitrogen per 1,000 square feet. For a summer install, use less, since heat is already straining the new grass.
On the day the sod goes down, write three dates on your calendar: both feedings and the day the stakes come out. For the first mow, wait until the grass stands about a third taller than your normal cutting height and the roots hold firm when you tug. Then set the mower high and take off only the top third.